If you need to store information that is specific to your business or industry, you'll create custom fields. Custom Fields are located in records. You are able to add up to 100 custom fields per record type.
Unfortunately, we are not able to add additional custom fields if you exceed 100.
Record Types
Record types are different areas of business within the application. They indicate where the custom fields are located. For example, if you create a custom field for an Order Record, you would go to any Order to see the Custom field tab.
Reports: Fields can be accessed through search criteria and added as a column for the results. For more information regarding Search reports, click here.
Merge Fields: A placeholder used to insert personalized content into a marketing piece such as an email. For example, ~Contact.FirstName~ is a "Merge Field" that inserts the value stored in the First Name field of the contact record into the email. For more information, click here.
Automation: Automate actions through web forms, landing pages, internal forms, timers, and appointments. For more information, click here. Only Contact records are available for automate actions. The other records are manually added/updated.
Pro Tip! Click images in the table to view larger.
Record Type | Reports | Merge Fields | Automate Actions |
Contact | X | X | X |
Subscription  | X | ||
Order | X | ||
Company | X | ||
Task/Appt/Note  | X | ||
Opportunity | X | ||
Referral Partner | X |


Custom fields consist of
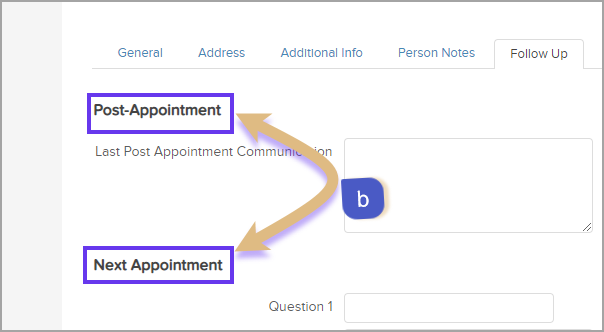
Tab - Contains a collection of fields that share a common type or purpose.
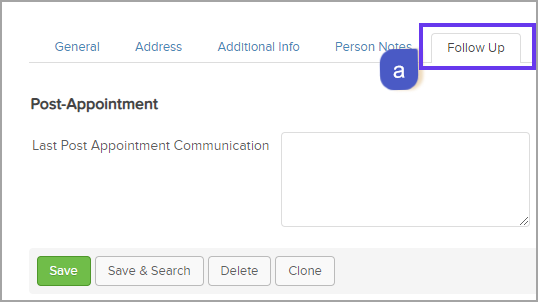
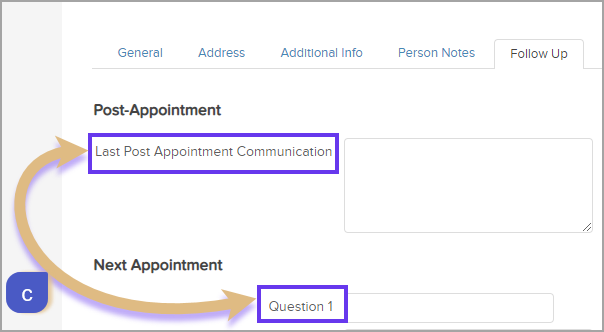
Headers - The header groups fields within the tab. There may be multiple headers under one tab.
Field - Holds information about a contact. There may be multiple fields within one header. The "Field Name" should be short, descriptive, include at least one alphanumeric character, and be unique.


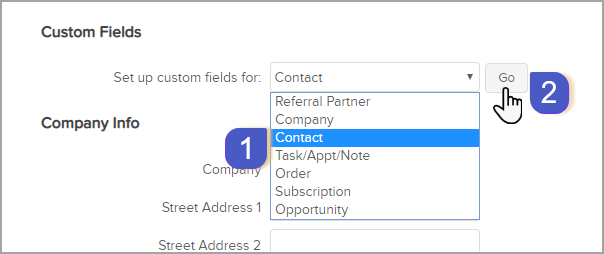
How to create a custom field
- Go to Admin > Settings
- Select a record type from the drop-down list and click on Go.
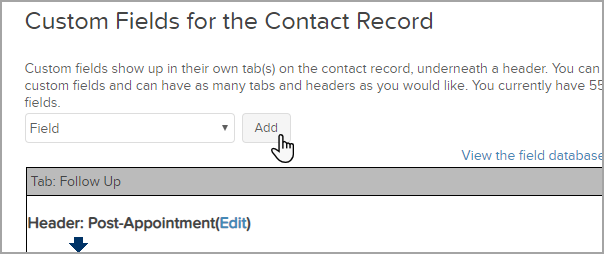
- Select "Field" from the drop-down and click Add
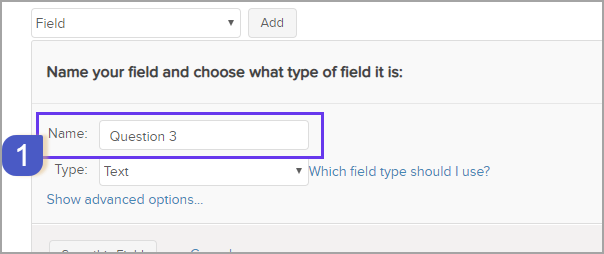
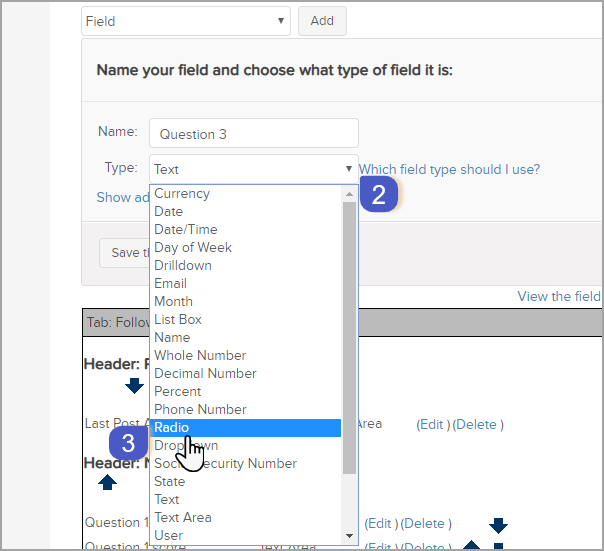
- Enter the Field Name and select the Field Type


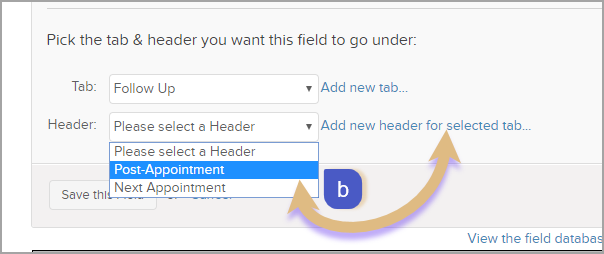
Click on the Show advanced options to organize this field by tab and header

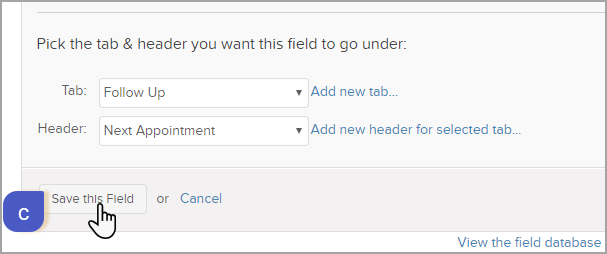
Tab: Choose a tab from the drop-down list or add a new tab.
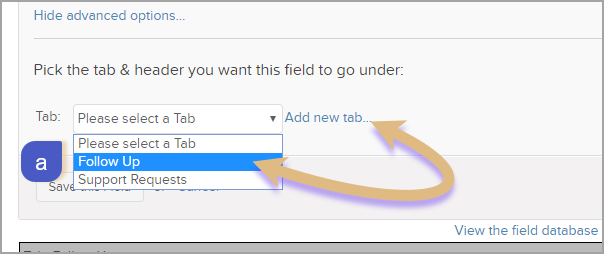
Header: Choose a header from the drop-down list or add a new header.
Click on Save this Field


Custom Field Summary - edit, arrange, and delete
The new tab, header, and field are now displayed in the custom field summary
- Click on Edit to change the tab, header or field names.
- Click on the arrows to change the order of headers and fields.
- Click on Delete to completely remove the field from the database.
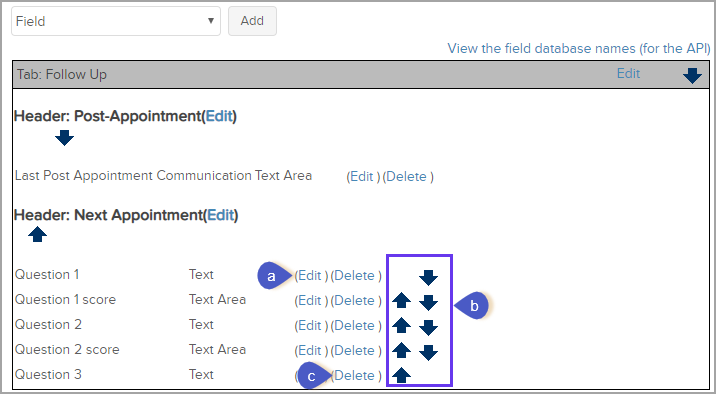

Warning! When you delete a custom field, all data contained in the field will be removed forever. This process cannot be undone!
Any links we provide from non-Infusionsoft sites or information about non-Infusionsoft products or services are provided as a courtesy and should not be construed as an endorsement by Infusionsoft.