Legacy Notice: This article refers to a feature that used with legacy broadcast emails which are created in Marketing > Templates. Custom Unsubscribe/Opt-Out links are not supported in the campaign builder or when sending an broadcast using the modern email builder.
There is a default unsubscribe / opt-out link displayed on the bottom of every broadcast email. These are considered marketing emails and are subject to the requirements of the CAN SPAM Act. You are not able to remove the opt-out link from these emails, but you can replace them with custom opt-out links.
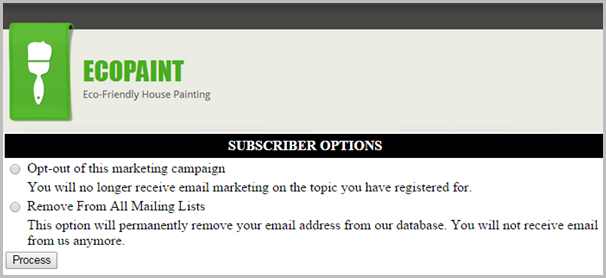
Each custom unsubscribe / opt-out link offers up to 2 options:
- Remove from All Email Marketing: This is the default option. When an email recipient selects it, their email status is changed to "opt-out" in Infusionsoft and the system will skip this person's email address when sending Broadcast and Follow-Up Sequence emails. You can also set up global actions that run whenever someone chooses the "Remove from All" through Marketing > Settings > Email Defaults.
- (Optional) Remove from series of emails: You can set up an alternative unsubscribe option for each opt-out link. This option allows an email recipient to unsubscribe from one series of emails (e.g. 10 Must-Dos), but continue to receive other broadcast and sequence messages.
Go to Marketing > Settings
Click on Automation Links in the settings menu.
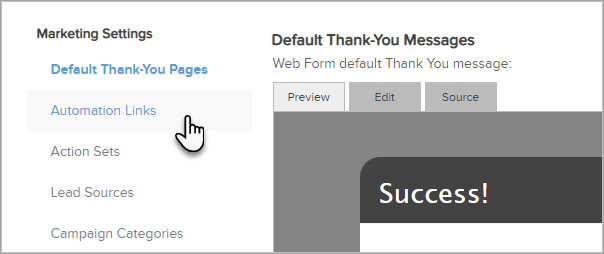
Click on the Create Update / Opt-Out button to add a new link.

- Name: Enter the name you'll use to identify this link (email recipients won't see this name). It should be short and descriptive.
- Type: Select Opt-Out from the drop-down. The opt-out link sends visitors to a confirmation web page that is hosted in Infusionsoft. This page displays a message asking the person to confirm their desire to opt-out of all email marketing and (if configured) offers the alternative option allowing email readers to unsubscribe from one specific series of emails.
- (Optional) Link Blurb (HTML Email Display): Click on the Edit tab to add text or images that will show up above the opt-out link.
- Link Text: This text will show up as a hyperlink in HTML emails. The recipient will click on the words you enter here (e.g. "Unsubscribe")
- Link Blurb (Plain Text Email Display): This message will show up above the link in plain text emails. It usually says something like: "Click on the link below to unsubscribe." Note: You are not able to mask links with text or images in a Plain Text email.
Click on the Save button to create the link.

(Optional) Scroll down to the Opt-Out Page Display Information section. Use this area to add an alternative unsubscribe option. This option allows someone to choose between unsubscribing from of all of your email marketing or only one series of email marketing messages. This is optional, but highly recommended.
- Opt-Out Header: Enter the name of an email series (e.g.10 Must-Dos Tips Series.)
- Opt-Out Description: Enter a more detailed description of the emails (e.g. "Choose this option if you want to stop receiving the 10 Must-Dos tip emails, but want to continue to receive other messages from Fully Baked Co.")
- Click on the Actions tab. Note: You must add actions to adjust the follow up.
- If the person is unsubscribing from a broadcast series, then you need to remove the tag you use to identify the broadcast list.
- If the person is unsubscribing from a series of messages that are delivered through a legacy follow-up sequence, then you need to remove the tag and stop the follow-up sequence.
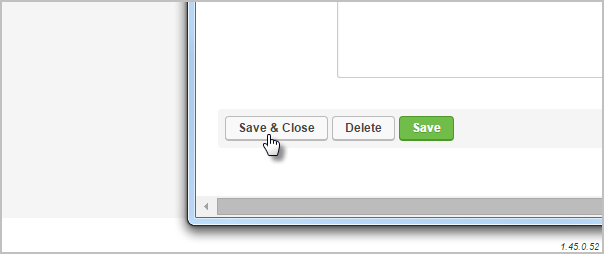
Click on the Save & Close button, then go to Marketing > Templates to insert the custom double opt-in link into the corresponding emails.
Open your email to edit it with the drag & drop builder.
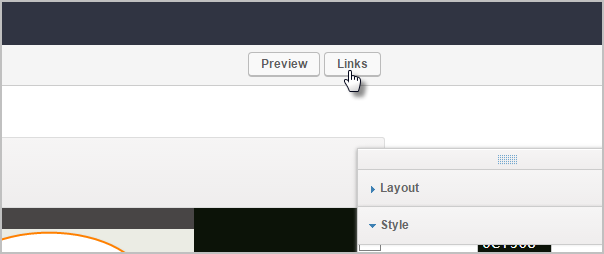
Click inside the email where you want to insert the link. Now, click on the Links button to choose the link you created. Note that you can set up these links while you are creating the email.
Code Builder: If you build your emails using the Code Builder, you will need to click the arrow on the Merge button to find the Merge Fields option.
The double opt-in link merge field should show up in the email.

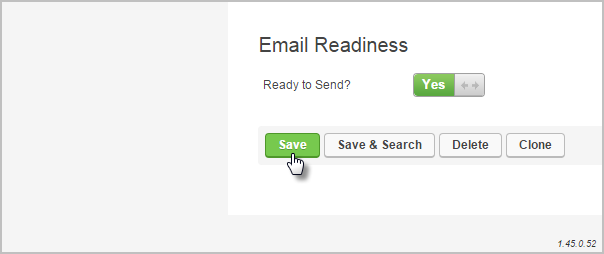
Click on the Save button to save the email update and click on Close Builder to return to the email template.

Scroll down and click on the Save button to apply the updates to the email template.