Field Timers allow you to schedule a marketing piece based on a date or date/time field in the contact record. There are two default date fields in every contact record: Anniversary Date and Birthday Date. You can also create your own custom date or date/time field.
Pro Tip!
Only one type of timer can be used per "Start" button. Meaning, no Start > Email > Delay Timer > Task > Date Timer. The Date Time would need to be on it's own "Start" button.

- Drag the "Field Timer" snippet onto the canvas

- Double-click timer to configure

- In the "Wait Until" section, select either:
- To run on day(s), week(s), month(s)
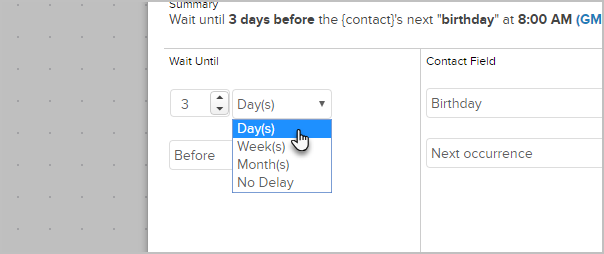
- And either delay before or after the custom date

- To run on day(s), week(s), month(s)
- In the Contact Field section, select the date field. By default, Birthday and Anniversary will always show in the drop down. Any new custom date or date/time fields will show here too.
- Next Occurrence will look at the Mont/Date to schedule the event
- Use Year from Field will look at the Month/Date & Year to decide when to schedule the event
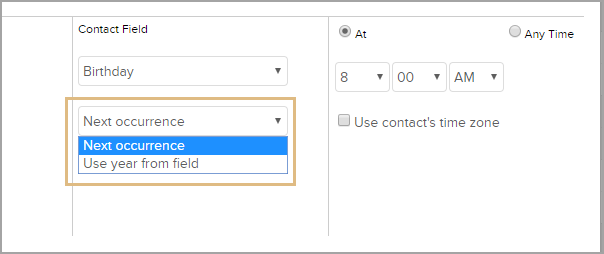
- Choose Time Frame:
- To process at a specific time of day
- To process any time, meaning that as soon as the contact landed on the timer it would process
- Use contact's time zone will send based on the time zone saved in the contacts record (optional)

- You are now ready to publish your changes.


