The final step of the Landing Page Builder is deciding how you want to publish it.
Click Go Live when you are ready for your new Landing Page to be active.
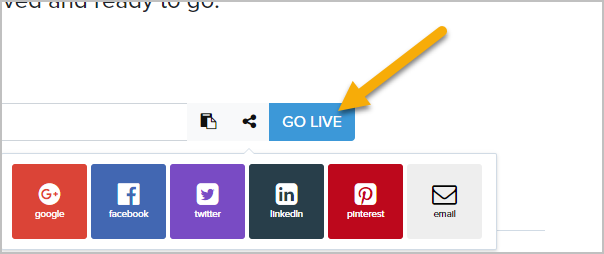
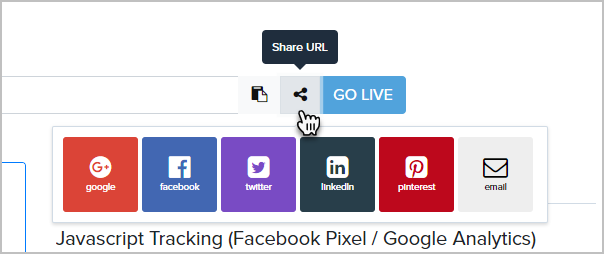
Click the Copy URL to clipboard button to grab the URL and share it. You can also share it socially by choosing on of the social share buttons.
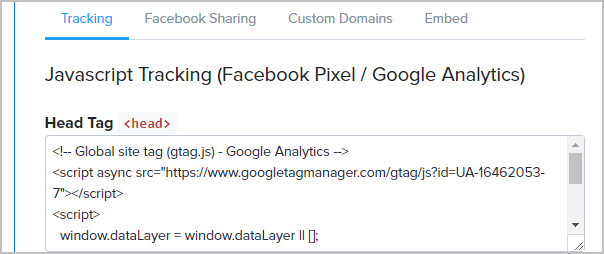
If you have a Google Analytics account or if you use Facebook Pixel, you can add your tracking code in this section.
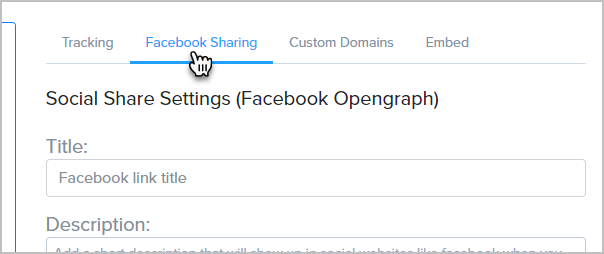
You can create a custom Facebook ad with a title, description and image here.
Configure a Custom Domain
If you would rather use your own doamin or subdomain instead of the randomly generated URL, you can change that here. Our custom domain feature is the easiest way to publish your pages to a custom or sub domain. Once it's set up, you can publish any Infusionsoft New Landing Page to a custom domain or subdomain, e.g. http://yourpersonaldomain.com/ or http://uniquename.yourpersonaldomain.com/.
- Just enter your desired domain and click Connect.
- Follow the instructions carefully in the pop-up modal, then click Verify.
Embed the Landing Page using an <iframe>
If you would like to embed your published landing page on your site, via an iframe, as opposed to connecting your domain via the steps above, this too is an option.
- Publish your landing page, or navigate to the Launch step of an already active landing page
- Scroll down to the Embed Code (Iframe)
- Click the embed code to copy to your clipboard
- Paste the coppied code to any page of your website, or share the code with your web developer.


