After choosing your template, follow the instruction below to learn how to set up and design your New Landing Page template.
Table of Contents:
Sections, Rows, Columns, and Elements
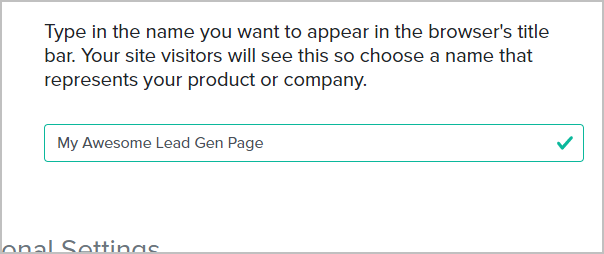
The name you type here will be shown in the browser's title bar. Your website visitors will see this, so make sure to choose a name wisely.
(Optional) Choose the font set you would like to use and add a logo

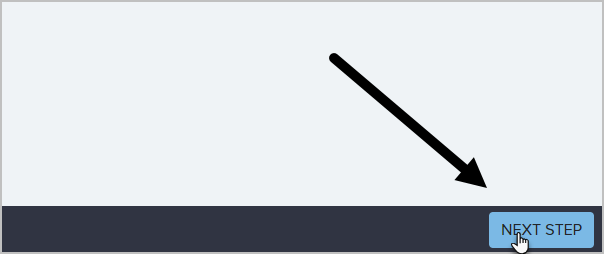
Click Next Step to start building your landing page template
Sections are the foundational layer to your content. You will likely have multiple sections that make up your entire landing page.
For example, you may have a "header" section at the top, then the "body" section in the middle containing a sign-up form, then a "social proof" section, then a "footer" section at the bottom. Splitting your landing page up into multiple sections, will allow you to style each section separately; thereby giving more customization over the page.
Alternatively, you can also use only one section and just keep adding rows, but you are limited in how much you can customize each row. Each section is structured by how many rows and columns they contain.
In the image below, we see a section with three columns and two rows.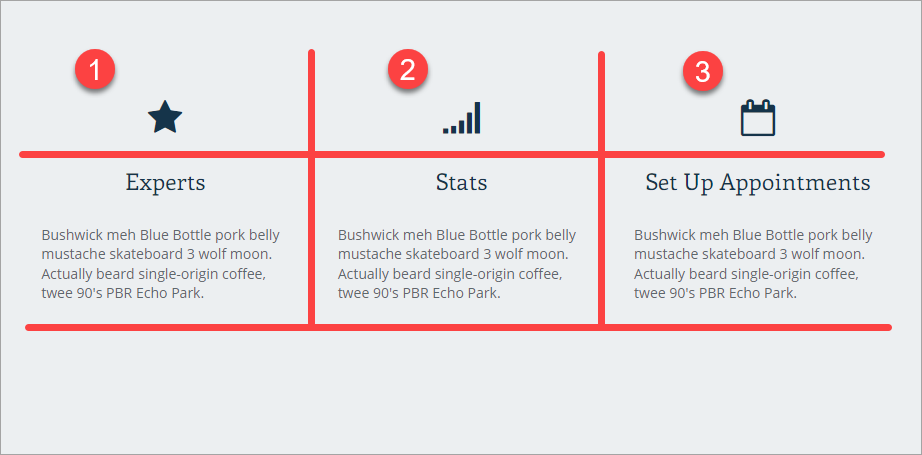
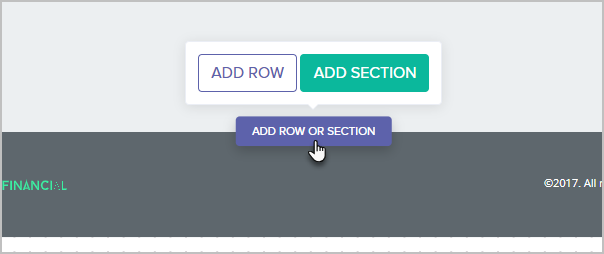
You can add as many rows as you like to each section. Just move your mouse to the bottom of a section to either add a brand new section, or just add a new row to the existing section.
To delete a row, hover your mouse over the row, right click and choose Delete
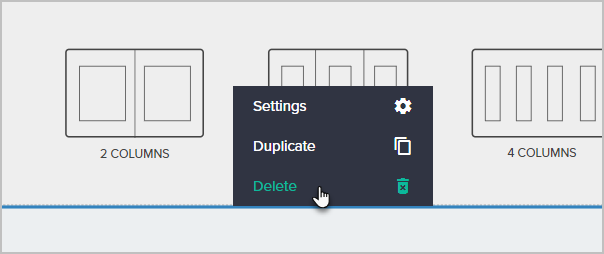
Each row can contain up to 4 columns of information. A column sits inside a row and contains elements inside of it.

An element is a piece of information that sits inside a column, which is inside a row, which is inside a section.
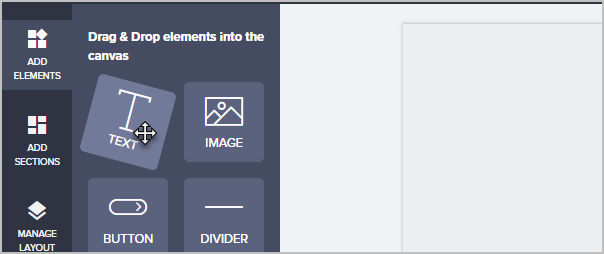
There are nine elements that you can add:- Text
- Image
- Button
- Divider
- Form
- Icon
- Video
- Logo
- Code
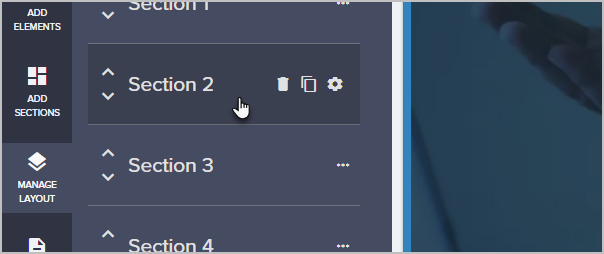
Click on Manage Layout to modify the properties of each section, copy a section, delete a section or move sections around if necessary.


Note: When using custom fields you will see the notice below. This notice do not mean that you need to take immediate action. It means that if you ever do need to make changes to a custom field (like add new options to a drop-down), you would do that under Admin > Settings > Custom fields. Then, you would need to come back here and remove and add the custom field again in order to sync your changes.

How to redirect to a Thank you page or URL
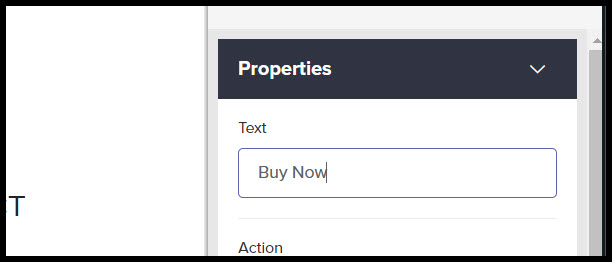
- Click either the:
- Form button
- or the button element
- Enter a Name
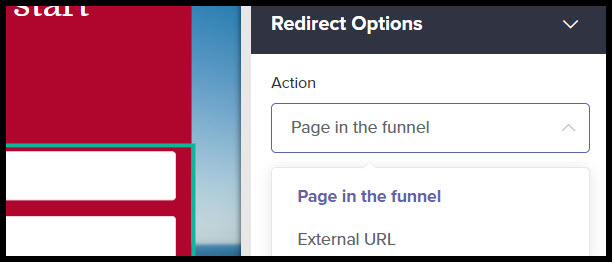
- For the form click "Redirect Options" and select either
- Page in funnel
- External URL
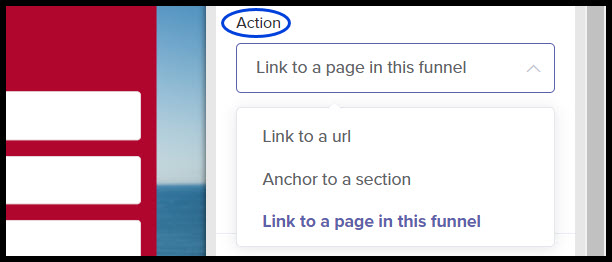
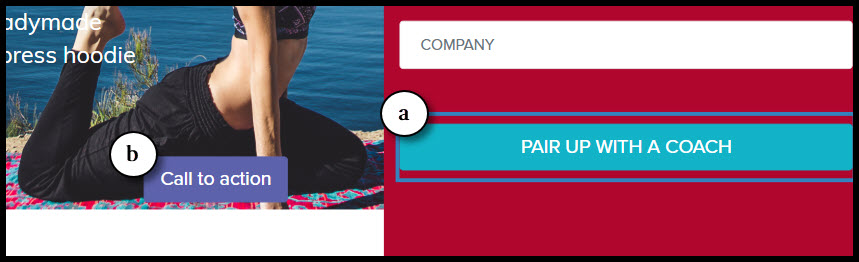
- For the button element click the "Action" drop down and then select either
- Link to a URL
- Anchor to a section
- Link to a page in this funnel


Top row icons
From left to right:
- You can undo/redo edits that you make,
- Click on an icon to start editing in Desktop View, Tablet View or Mobile View.
- Get live help while you are building your Landing Page.