You can define the number of installments and number of days between charges. You also have the option to charge a percentage or fixed dollar amount finance charge to each installment. The criteria you define determines when a pay plan is visible in the cart (i.e. a specific product is selected, a minimum order total, etc.)
Important Note on Finance Charges: When an order is placed that will payout commissions and the order has a finance charge, the payments will first pay off the finance charge before being applied to the commissions.
- Go to E-Commerce > E-Commerce Setup in the master nav.
- Click on Payment Plans at the bottom left

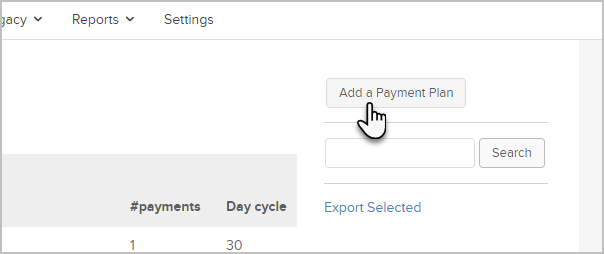
- Click on the Add a Payment Plan button at the top right of the page
- Enter the Payment Plan Information
- Name: This name shows up for Infusionsoft users. It should be descriptive of the offer (e.g. 3 pay for the Lil Slugger Batting Cage.)
- Description: The description is also for Infusionsoft users. Make some notes about the pay plan details (i.e. purpose, limitations, etc.)
- Enter the Finance Charge details.
Note: The finance charge is displayed in the Infusionsoft shopping cart during the checkout process.- Type: Select the method of calculation from Percent or fixed dollar Amount.
- Amount: Enter the numerical value for the percent or dollar amount. This amount is applied to the total and divided evenly between payments.
- Enter the Scheduling details:
- Number of Payments: Enter the total number of payments, including the first payment (e.g. 3 payments)
- Days Between Payments: Enter the number of days between payments (e.g. 30 days will charge an installment about once a month.)
- Days Until Start: Leave this set to zero to charge the first installment upon checkout. If you enter a number, the system will not charge the first installment right away but will delay it by the specified number of days. You can use this to set up a "free trial" period or to charge in arrears, after services have already been rendered.
- Set up the Options
- Merchant Account: The system will use the default Merchant Account, but you can select a different one.
- (Optional) Override Cart Merchant Account: Set to Yes if you selected a different Merchant Account from the drop-down. Skip it if you didn't.
- (Optional) Auto Charge Payment Plan: Set this to No if you want to manually charge each installment of the payment plan instead of auto-charging it based on the Pay Plan schedule.
- Days between Recharge Attempts: This setting applies to autocharge failures. Enter the number of days you want Infusionsoft to wait before trying to charge the card again if an autocharge fails.
- Max Retries: This setting also applies to auto-charge failures. Enter the maximum number of times the system will try to charge a card before it gives up. Note: You can set up billing automation to alert you when this happens.
- Click Save.
- Scroll to the bottom and choose the criteria that must be met in order for the Payment Plan to be present. These criteria define one or more conditions that must be true for the payment plan to apply. If you set up more than one criteria, they must ALL be true to make the purchase eligible for the payment plan.
- Enter the specific parameters for the criteria you chose.
- Click Save to save the criteria.
- Click Save to save the payment plan.

