When obtaining consent on a web form or landing page , you'll need to know how to apply a tag when someone checks a box, then submits the form.
Table of Contents:
Apply a tag to a web form checkbox
- Drag a Checkbox snippet below the opt-in feilds, above the submit button
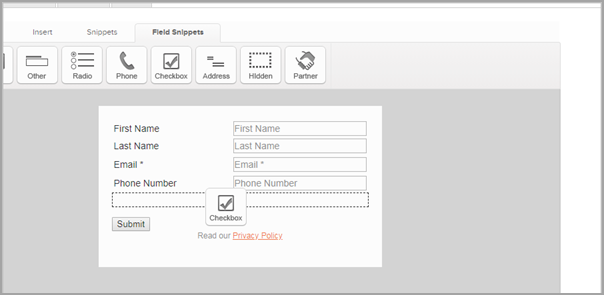
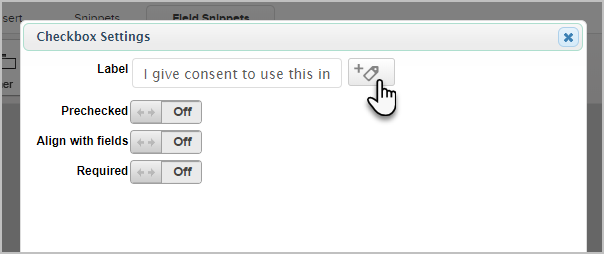
- Enter the label, "I give consent to use this information to send additional emails and communication as described in your Privacy Policy"
- Click the Tag icon
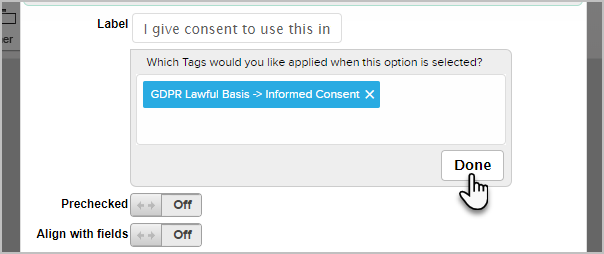
- Select the, Informed Consent tag you created earlier.
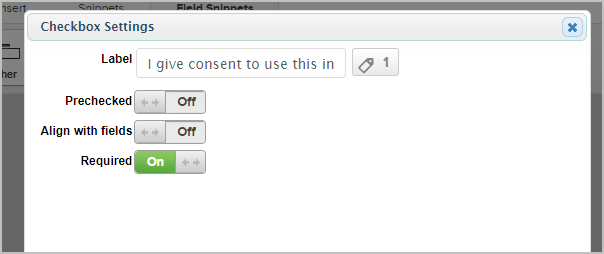
- Warning! Do not pre-check the box. Pre-checked forms are not GDPR compliant!
- We recommend making this a required field
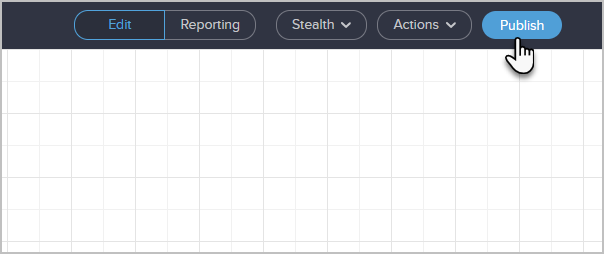
- When you are done, go back to the campaign canvas and republish your campaign.
- If you are using one of the HTML versions, you'll need to update the code on your website.


Add a Tag to a Landing Page Checkbox
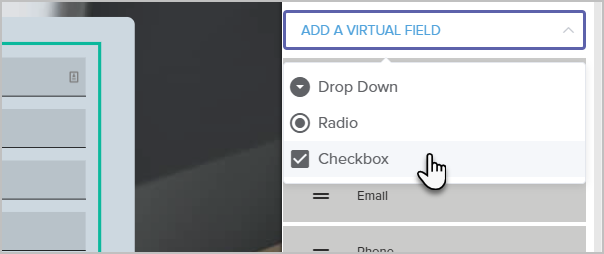
- On your landing page form, click the Add Virtual Field button and choose Checkbox.
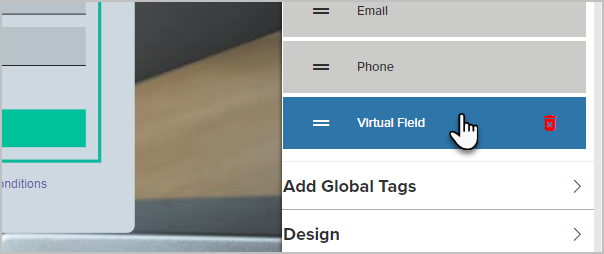
- Now, click on your new Virtual Field
- Enter the label, "I give consent to use this information to send additional emails and communication as described in your Privacy Policy"
- It is highly suggested to make this required so that all contacts that enter from this landing page have shown informed consent.

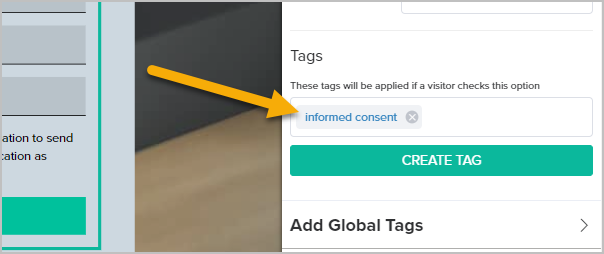
- Scroll down and enter the informed consent tag you created earlier.
- When you are finished, just Next step the landing page to the end and republish it.


