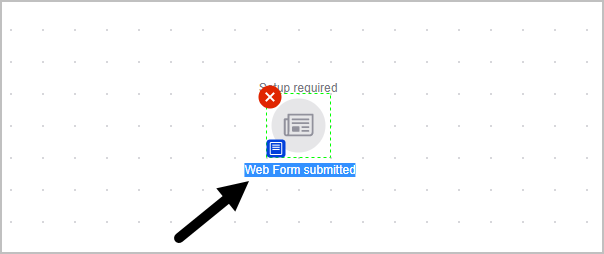
- Click and drag a web form goal onto the campaign canvas.

- Type the Goal Name where the text is highlighted. Now, double-click the goal to configure the web form.
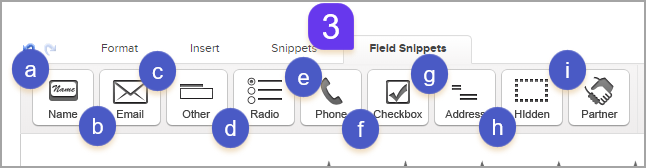
- To access all of the available fields for a form, click the Field Snippets tab. Field Snippets contain:
- Name: Captures the Contact Name field
- Email: Captures either Email, Email 2, Email 3, or Create a Custom Field
- Other: Captures all other fields including Custom Fields or you can create a Custom Field
- Radio: Create a list of options that will be stored in the contact record under "Forms" Note: This is not captured in a field.
- Phone: Capture phone number in Phone Type 1-5 & Fax 1-2
- Checkbox: Create a single selection box to a multiple choice and captures in the contact record under "Forms" Note: This is not captured in a field.
- Address - Capture Shipping, Billing Address, or Optional
- Hidden - Add fields that will not display on the Web Form but will capture information based on setup
- Partner - Capture information to create a Referral Partner Record
- To delete hover of Field Snippet and click the trash can

- The "Snippets" tab is where you can drag and drop elements, such as:

- Paragraph - Text box
- Title - Text box with large font and bold
- Spotlight - Image aligned left with Text box on the right
- Image - Place image before or after other snippets and then select or upload an image
- YouTube - Link to a YouTube video
- Social - Add Social Media Links
- Spacer - Add space between other snippets
- Divider - Adds bar between other snippets
- HTML - Add custom coding
- Logo - Automatically adds your logo that is saved under Admin > Branding Center > Logo
- Configure your field snippet and click Save.
- To delete either type of snippets, hover over the item and click the trash can.

- The Format tab to access all of the text formatting tools
- Fonts - Format, Family, Font size, etc
- Unordered and Numbered Lists
- Alignment
- Quote
- Remove formatting
- Table
- Link
- Paste text
- Find & Find/Replace
- Layout & Style

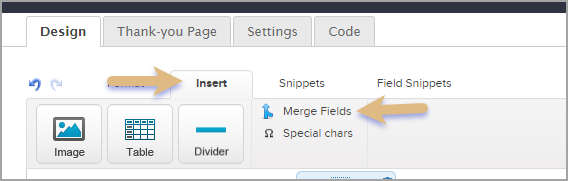
- Insert tab allows you to insert the following elements into either the Paragraph or Title Snippets
- Image
- Table
- Divider
- Merge Fields - A placeholder used to insert personalized content For example, ~Contact.FirstName~ is a merge field that inserts the value stored in the First Name field of the contact record.
 Click to view larger
- Special Characters
- Click on the Layout & Style button to configure the look of your web form.

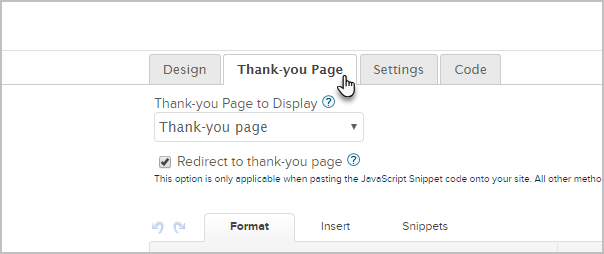
- When you are finished designing your web form, click the Thank-You page tab and configure your Thank-You page.
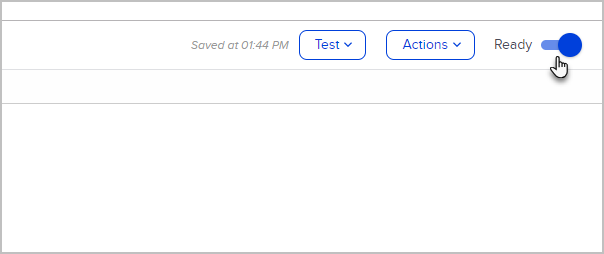
- To test your form, just click the Test button and select a person.

- Once you've tested your form and are happy with it, change it from Draft to Ready.
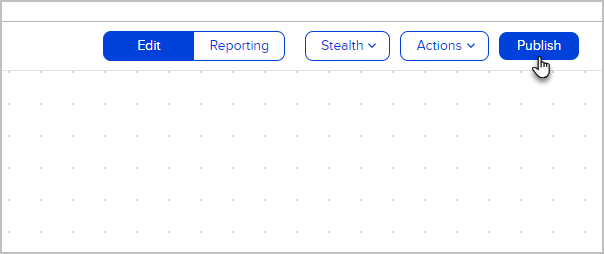
- Click to go back to the campaign and Publish your changes.

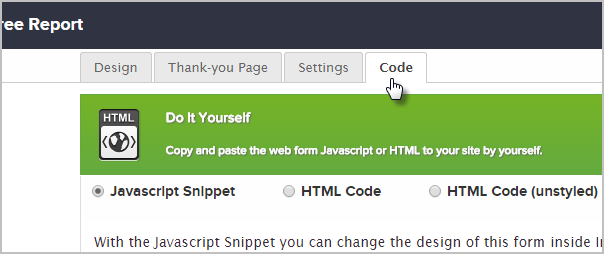
- To grab the URL of the web form, or grab the code to place on your site, go back into the web form goal and click on the Code tab.


Important! Every time a web form is changed, the javascript and hosted version will automatically update. If the HTML or HTML unstyled code is used, then the web form code must be manually updated on your website in order for the changes to take effect.